
Nail Ideas
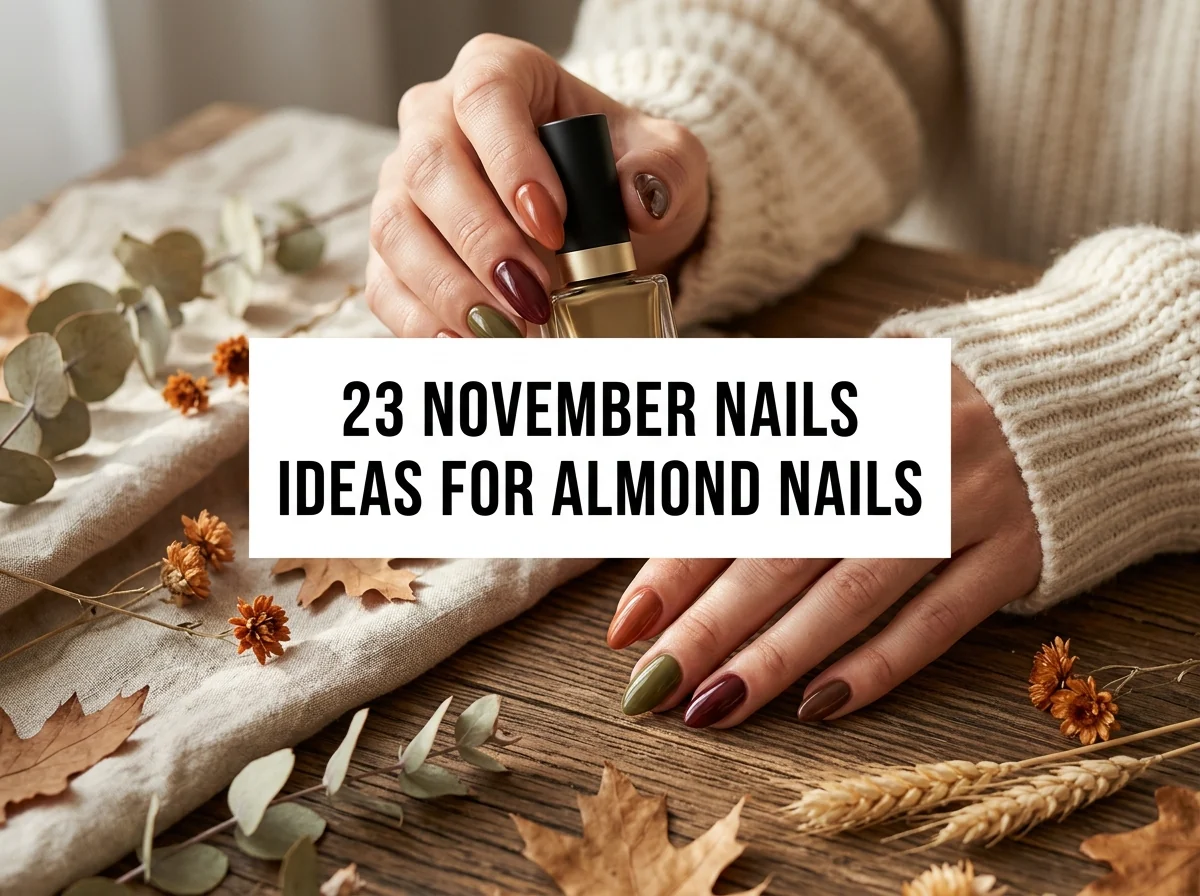
23 November Nails Ideas for Almond Nails
On this page
The almond shape already gives a manicure a little movement, so November nail art can follow the taper instead of competing with it. Rich color, a fine line, or a soft fade looks graceful along the curved sides.
These ideas range from quiet neutrals to playful seasonal accents, with details chosen to flatter an almond silhouette. Use them as salon references or simplify the art for a home manicure.
1. Cranberry Glass Almonds
A translucent cranberry glaze follows the almond shape and leaves the fingertips looking rich but light. The clear red layers catch the light differently from opaque burgundy.
Apply a sheer blush base and layer cranberry jelly polish until the color reaches the depth you like. Finish with a thick glossy topcoat to make the almond curve look smooth.
Keep the layers thin so the free edge stays crisp. A deeper red can be added only to the tips for extra dimension.
2. Mocha Side-Swoop French
A cocoa swoop along one side makes a French tip feel fluid on a tapered almond nail. The asymmetry draws the eye toward the point without covering it.
Paint a sheer beige base and sweep mocha from the sidewall across one corner of the tip. Add a thin caramel line alongside it, leaving a narrow strip of base between the colors.
Alternate the direction on each hand for a balanced set. A liner brush gives the curve more control than a standard polish brush.
3. Copper Leaf Trail
A fine copper branch running along the almond curve looks like a small autumn illustration. The metallic line adds shine while leaving the base open.
Apply milky nude polish and paint a slim copper stem from the lower side toward the tip on two accent fingers. Add three pointed leaves on each branch with a detail brush.
Keep the branch off-center to emphasize the taper. Metallic liner polish stays flatter than foil and is easy to seal.
4. Merlot Velvet Beam
A magnetic merlot beam looks like a ribbon of light running down an almond nail. The deep berry color feels especially rich on a tapered shape.
Apply wine magnetic gel and draw a narrow vertical shimmer line with the magnet. Cure each nail immediately to keep the line from diffusing.
Use a soft glow rather than a hard stripe for an elegant finish. Pair it with plain glossy merlot on the little fingers.
5. Tortoiseshell Tip Arcs
Amber tortoiseshell arcs at the tips frame the almond point like translucent lacquer. The warm pattern feels polished next to gold jewelry.
Paint a sheer blush base and build a narrow honey-amber French tip on two fingers. Add a few uneven cocoa flecks, then veil them with translucent caramel before topcoat.
Keep the pattern to accent nails so each tip remains defined. The flecks should vary in size for a natural tortoiseshell look.
6. Sage Outline Almonds
A fine sage outline traces the tapered shape like a delicate drawn border. It is a fresh way to wear green without a full opaque manicure.
Apply a milky beige base and use a liner brush to draw a thin sage line along each sidewall and around the tip. Leave a small break near the cuticle.
Choose a muted gray-green to keep the outline soft. A steady wrist is easier if you rest your painting hand on a table.
7. Rose Chrome Center Glow
A rose chrome glow concentrated at the center makes the almond shape look luminous. Its pink-brown tone is warmer and softer than a mirror finish.
Lay down sheer dusty rose, then rub a fine rose chrome pigment over the center of each cured nail. Feather the edges with a sponge and seal with no-wipe topcoat.
Use only a light dusting for a satin glow. Regular polish with fine rose shimmer is a simpler alternative.
8. Oatmeal Cable Curve
A single cable line curved along the almond side resembles a knit stitch without filling the whole nail. The oatmeal color makes the texture feel soft.
Paint two coats of warm cream and draw a flat, narrow braided pattern along one side using a fine brush. Add small crossing marks to suggest the knit and finish matte.
Keep the design flat rather than raised so it wears comfortably. One accent on each hand is enough.
9. Mulberry Aura Almond
A mulberry halo at the center fades into a milky edge, giving the nail a soft-focus finish. The gradient follows the almond taper instead of hiding it.
Apply a translucent blush base and sponge plum-burgundy into the center in several sheer layers. Blend outward toward the sidewalls and seal with glossy topcoat.
Keep the center slightly lower than the widest part of the nail. A fresh sponge corner helps the color fade evenly.
10. Champagne Double Arches
Two champagne arcs across a sheer nail look like fine jewelry following the almond tip. The small space between them gives the design a clean rhythm.
Paint translucent beige and draw one narrow champagne curve across the free edge. Add a second, finer arc just below it on the ring fingers.
Use metallic striping polish and very little product. Leave the remaining nails plain blush or taupe for balance.
11. Espresso Half-Moons
A deep espresso crescent at the cuticle balances the pointed tip of an almond nail. The contrast is graphic but still restrained.
Apply a sheer nude base and paint a slim cocoa half-moon around the lunula on two fingers. Leave the upper portion clear or add one tiny cream French tip.
Use a curved sticker to keep the crescent smooth. This design looks neat in either gloss or satin finish.
12. Cinnamon Ribbon Curves
Thin cinnamon lines curl around the nail like a ribbon and make the almond silhouette feel graceful. A warm cream base keeps the design soft.
Paint a milky beige base, then draw one long rust curve from the cuticle toward the side of the tip. Add a shorter caramel curve beside it on alternating fingers.
Vary the curves slightly so the set feels hand-painted. Keep each line narrow to preserve negative space.
13. Midnight Navy and Copper Stars
A deep navy base with tiny copper stars makes a dramatic color break from autumn browns. The almond point gives the small star marks a crisp backdrop.
Paint two accent nails midnight blue and place three tiny copper dots in a loose constellation. Connect just two dots with short fine strokes.
Use a dotting tool instead of raised star charms for a smoother finish. Wear the other nails in a pale beige or solid navy.
14. Mushroom Taupe Velvet
Mushroom taupe in a velvet matte finish makes almond nails look soft and refined. Its gray-brown undertone feels calm beside brighter fall accessories.
Apply two thin coats of taupe and finish with a matte topcoat. File the sides symmetrically before painting so the almond points line up.
Add one glossy dot at the base of the ring fingers for subtle contrast. Keep hand cream nearby because matte polish shows dry skin.
15. Burgundy Micro-French with Gold Dot
A slim burgundy tip sharpens the almond point, while one gold dot adds a tiny jewelry-like accent. The rest of the base stays sheer and fresh.
Paint translucent rose and draw a fine wine line along the free edge. Place a champagne dot just above the cuticle on each ring finger.
Keep the dot smaller than a pinhead for a delicate finish. Cap the tips with topcoat to help prevent wear.
16. Soft Gray Marble
Cool gray veins over ivory bring a quieter, stone-inspired look to a warm November palette. The pale base lets the almond shape stay visible.
Apply sheer cream and draw two fine gray veins across each accent nail. Blur a short section with a clean damp brush and add one faint silver branch.
Use the marble on only two fingers. Leave plenty of blank space so the pattern does not look cloudy.
17. Gilded Leaf French
Tiny gold leaves placed beside a French tip feel seasonal and graceful. Their diagonal direction echoes the almond shape.
Paint a sheer pink base and add a fine champagne French line on all fingers. Draw two tiny leaf strokes near the outer tip of each ring finger.
Keep the leaves as small as the smile line. A gold nail-art pen makes the short strokes easier.
18. Cocoa and Blush Skittle
Alternating cocoa and blush shades bring contrast without adding a pattern. The almond shape looks elegant in both tones.
Paint the index and ring fingers cocoa, then use milky blush on the thumb, middle, and little fingers. Repeat the placement on both hands and apply gloss.
Choose a pink with a warm undertone so it sits naturally beside brown. One small gold dot on the middle finger can tie the tones together.
19. Plum Negative-Space Frame
A thin plum frame around a bare blush center creates a modern outline that flatters a tapered nail. The open gap near the cuticle keeps it light.
Apply a translucent pink base and trace the sidewalls and tip with muted plum polish. Leave a narrow opening at the base and keep the line even.
Use a liner brush and rotate the finger as you paint. This accent works especially well on the ring fingers.
20. Frosted Almond Fade
Pearl shimmer fading over the almond tip gives the set a soft frosted edge. It catches light at the point without turning the full nail glittery.
Paint two coats of warm beige and sponge micro-pearl shimmer onto the top third. Blend the edge toward the center in light taps and finish with clear gloss.
Fine shimmer stays smoother than chunky glitter. A pearly topper gives a quicker one-coat version.
21. Chocolate Swirl French
Two chocolate curves make a French tip feel hand-drawn and playful. The curved lines follow the almond shape and leave a slim nude strip between them.
Use a sheer blush base and paint one cocoa curve across the tip. Add a second caramel line just beneath it, tapering both toward one side.
Keep the curves narrow so they do not shorten the nail visually. A detail brush gives a cleaner taper.
22. Copper Foil Flick
One small copper flick at the side of the tip looks like metallic brushwork. The diagonal accent brings movement to a simple taupe manicure.
Apply warm taupe and press a narrow copper foil fragment onto two accent nails near the upper sidewall. Smooth the edge and seal twice with topcoat.
Choose a small fragment rather than a wide patch. Copper shimmer polish is easier to remove and touch up.
23. Deep Cocoa Ombré
A gradient from caramel to dark cocoa makes the almond tip look deep and glossy. The warm transition is eye-catching without adding a separate motif.
Paint a caramel base and sponge dark brown onto the tips in thin layers. Blend the center until there is no hard band, then seal with high gloss.
Use a new sponge corner between hands for a cleaner gradient. Keep the base lighter if you want the nails to look longer.
Almond nails already have a graceful outline, so the best November designs work with that curve and keep the details balanced. Choose a comfortable length, protect the tapered tips, and let one seasonal shade or accent be the focus.
Frequently asked questions
What November nail designs suit almond nails?
Almond nails suit flowing details such as fine French arcs, leaf stems, aura fades, and slim metallic lines.
The tapered tip also gives simple solid colors a graceful outline.
How long should almond nails be?
They need enough free edge to shape a gentle taper, but they do not have to be very long.
Choose a length that feels stable for typing, cooking, and your other daily tasks.
Are almond nails practical for everyday wear?
A moderate length with a rounded point can be comfortable for many routines.
If the tips catch or feel weak, shorten them and soften the point with a file.
Which colors look good on almond nails in November?
Burgundy, espresso, plum, olive, taupe, and creamy beige all complement a November manicure.
Copper and champagne accents add warmth in small amounts.
How can I protect almond nail tips?
Use a protective base, cap the free edge with polish, and avoid prying or opening objects with the tips.
A small glass file can smooth a snag before it turns into a break.