
Nail Ideas
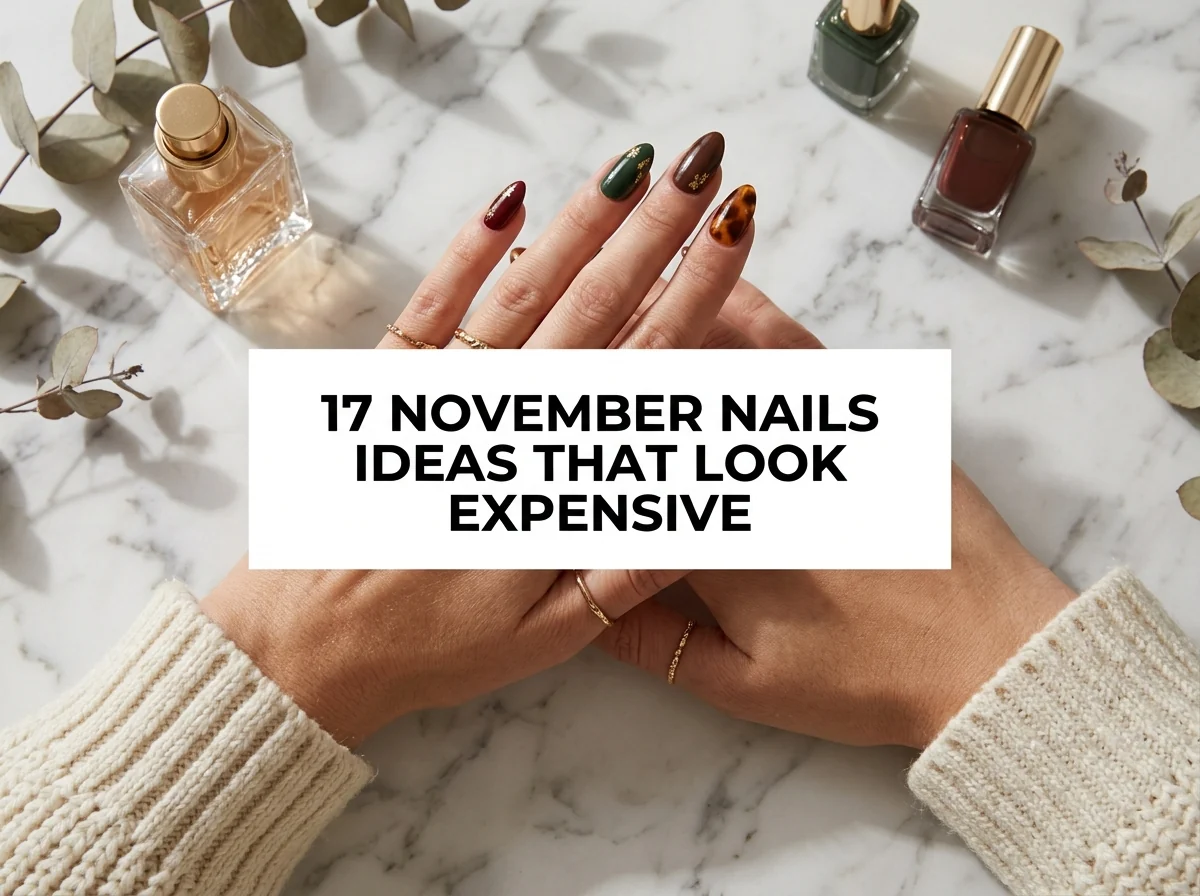
17 November Nails Ideas That Look Expensive
On this page
A manicure can look considered without a drawer full of charms or a pricey salon appointment. The details that read as polished are usually small: a clean outline, a flattering neutral, and a finish that catches light softly.
These November ideas lean on rich seasonal shades and restrained accents. They work on short or long nails, and most can be recreated with a steady hand and a few basic tools.
1. Cashmere Latte Squoval
A creamy latte shade on short squoval nails looks polished with almost no decoration. The soft beige tone gives the manicure a quiet, expensive finish.
Apply two thin coats of warm latte over a ridge-filling base and seal with a plumping gloss. Keep the free edge softly squared and even on every finger.
A neat cuticle line matters more than adding art here. The shade also pairs easily with gold, silver, or mixed-metal jewelry.
2. Champagne Chrome Cuffs
A whisper-thin chrome curve at the base makes a sheer manicure look like it has a tiny piece of jewelry built in. The design stays elegant because most of the nail remains bare.
Brush on translucent pink, then trace a fine champagne arc just above each cuticle with a detail liner. Keep the curve open at both sides and finish with a smooth topcoat.
Use a metallic liner polish at home instead of loose chrome powder. One cuff on each ring finger is a lovely lower-effort version.
3. Rose Quartz Veil
Soft pink layers create a translucent stone effect that looks delicate in daylight. Fine white veins give the manicure dimension without making it busy.
Layer sheer rose and milky blush polish, then draw one or two pale veins across two accent nails. Gently soften part of each vein with a clean brush before sealing.
Leave the veins imperfect and thin for a natural stone look. A sheer pink base hides grow-out better than opaque polish.
4. Tortoiseshell Half-Moons
Amber tortoiseshell near the cuticle feels more refined than a full patterned nail. The negative-space tip keeps the warm design light.
Paint a caramel half-moon on two nails, add tiny cocoa flecks, and soften them with a translucent amber glaze. Keep the upper half sheer beige.
Use curved manicure guides to get an even crescent. A glossy finish brings out the depth in the amber layers.
5. Forest Cat-Eye Line
A narrow green shimmer line across deep forest polish has the quiet drama of a jewel. It looks intentional on its own, with no gems or extra art.
Apply two coats of forest magnetic gel and draw the light into one slender diagonal streak with a magnet. Cure immediately, then seal with a no-wipe topcoat.
Choose a velvet glow instead of a sharp beam for daytime wear. Keep the nails short or medium so the color stays understated.
6. Espresso Pinpoint Pearls
One tiny pearl on a glossy espresso manicure looks like a delicate stud rather than a full embellishment. The dark brown makes the pearl stand out cleanly.
Paint two coats of espresso cream and place a low-profile ivory pearl at the base of each ring finger with nail glue. Seal around its edge without coating the pearl itself.
Use small flat-backed pearls so they do not catch on sleeves. A single pearl per hand keeps the set balanced.
7. Merlot Satin Fade
Merlot fading into soft rose gives a rich color a lighter, tailored finish. The blurred transition makes the manicure look more intricate than a solid coat.
Apply sheer rose near the cuticle and sponge merlot over the lower half, blending the middle with short taps. Finish with satin topcoat for a soft, fabric-like glow.
Try the fade on two accent nails and keep the others full merlot. A makeup sponge is an inexpensive way to soften the edge.
8. Bare Crescent and Cocoa Sweep
A clean crescent left near the cuticle makes a simple cocoa swoop feel modern. This design has the restraint of a neutral manicure with one graphic detail.
Apply a sheer beige base, leave the half-moon uncovered, and draw one slim cocoa curve from the sidewall toward the tip. Keep the curve narrow and follow the nail’s natural shape.
Use a curved guide sticker if the bare crescent is difficult to keep crisp. The same design looks especially neat on short oval nails.
9. Mushroom Cashmere Matte
A mushroom-beige manicure with a velvet matte surface looks calm and considered. Its muted color works beautifully with winter whites and camel layers.
Apply two coats of mushroom polish and finish with a soft matte topcoat. Smooth ridges first so the muted finish stays even in bright light.
Carry a glossy topcoat for a single shiny accent nail if you want contrast. Matte polish is easy to refresh with one thin layer.
10. Ruby Double French
Two fine red lines at the tips make a French manicure feel custom and polished. The small gap between them lets the blush base show through.
Paint a translucent pink base and draw a thin ruby arc along each free edge. Add a second parallel line just beneath it with a liner brush.
Keep both lines delicate, especially on short nails. A striping brush makes the two curves more consistent across both hands.
11. Smoky Quartz Glass
A sheer gray-brown jelly layer gives nails the glow of smoky quartz. It is an elegant alternative to opaque dark polish when you want a softer look.
Layer two translucent coats of taupe-gray over a clear base and add one fine champagne vein to the ring fingers. Seal with a glossy topcoat to keep the glass effect.
Use a sheer polish rather than building thick layers. The translucent finish grows out more gracefully than full coverage.
12. Gold Thread Side Detail
A single gold line following one sidewall looks like a fine thread stitched along the nail. It is subtle enough to wear with a neutral outfit or a party dress.
Apply creamy nude polish and paint a hair-thin champagne line from the cuticle to just below the tip on the ring fingers. Use a long liner brush for one smooth stroke.
Leave one side of the nail unlined so the detail stays light. Metallic striping tape is a practical substitute for a shaky hand.
13. Olive and Cream Color Block
A small olive corner against creamy beige gives a designer-inspired color block without taking over the manicure. The diagonal split makes the nail look longer.
Paint a warm cream base, then cover one lower corner with muted olive using striping tape as a guide. Add a very fine gold divider if you want a polished edge.
Repeat the corner on alternate fingers rather than every nail. Keep the color area small so the negative space remains visible.
14. Pearl Glaze on Warm Ivory
A fine pearl glaze over ivory catches light softly and looks clean from every angle. The effect feels dressy without becoming glittery.
Apply two thin ivory coats and add one sheer pearl topper over the full nail. Keep the shape a short oval or squoval for a neat silhouette.
Choose micro-shimmer rather than chunky sparkle for a smoother surface. This is an easy at-home look with just one extra polish.
15. Brown Sugar Aura
A caramel glow fading from the center gives a nude manicure more depth. The warm halo looks especially beautiful against gold jewelry.
Start with a milky beige base and sponge cinnamon-brown polish onto the center in several sheer layers. Use a smoothing topcoat to blend the gradient.
Build the color slowly so the center stays translucent. If you have no sponge, tap the polish on with a small eyeshadow applicator.
16. Merlot Ribbon Accent
A single flowing merlot ribbon over sheer blush looks like a fine brushstroke. The rest of the nails stay quiet, so the detail feels intentional.
Paint a blush base and draw one S-shaped wine line across each middle finger with a fine brush. Add a tiny champagne dot where the curve turns.
Vary the curve slightly rather than making it a rigid stripe. A thin line is easier to fix before the topcoat goes on.
17. Cinnamon Micro-Check
A tiny cinnamon check at one corner gives a neutral manicure a crafted finish. The warm grid looks special while the open base keeps it sophisticated.
Paint two accent nails sheer beige and create a small square with two rust and two cocoa crossing lines. Keep the remaining nails a smooth caramel cream.
Limit the grid to a small patch so the design reads as detail, not a full pattern. Let each line dry before you add the crossing stroke.
An expensive-looking manicure comes from thoughtful proportions and tidy application more than complicated decoration. Pick one refined detail, keep the rest simple, and give the top coat enough time to dry fully.
Frequently asked questions
How can I make my nails look expensive on a budget?
Choose a shade that suits your skin tone, keep the shape even, and apply polish in thin coats.
Clean cuticle edges and a smooth top coat often make a bigger difference than detailed art.
What nail colors look luxurious in November?
Milky pink, warm beige, espresso, deep wine, and soft taupe look refined in cooler weather.
Fine champagne or gold details add a little shine without taking over.
Are simple nail designs better for an elegant look?
Simple designs are easy to keep neat, but a small pearl, chrome line, or tortoiseshell accent can still feel polished.
Keep the detail balanced across the hand rather than repeating a large motif on every nail.
Can short nails look expensive?
Absolutely.
A tidy squoval or rounded shape with sheer polish, micro French tips, or a rich single color looks intentional at any length.
How do I prevent a manicure from looking messy?
Leave a hairline gap between polish and cuticle, remove smudges with a cleanup brush, and cap the nail edge.
Let each layer dry before adding the next.